


The pros might already be out in their greenhouses, dusting off their flats with purists washing them in soap and water with a bit of bleach thrown in for anti-bad stuff insurance.
But most of us will gather whatever is handy: a shallow bowl, recycled doggie-bag containers or even egg cartons, and start planting our seeds indoors. Yogurt containers, with holes poked in the bottom for drainage, work well as do peat pellets. (Peat pots are wonderful, if a bit costly, as they can be transplanted right into larger pots or soil with no damage to delicate roots.)
Growing plants from seeds has many advantages: a $2 package of seeds is capable of producing more than a dozen plants. One tomato plant, for example, might yield eight to 10 pounds of fruit. Basil is $2.99 a bunch in the store and can be grown for pennies at home. Plus, you can grow a greater variety, with no chemicals added.
Find out what's happening in Clintonwith free, real-time updates from Patch.
One pack of seeds can be shared with friends and family or each can grow a specific crop and swap plants.
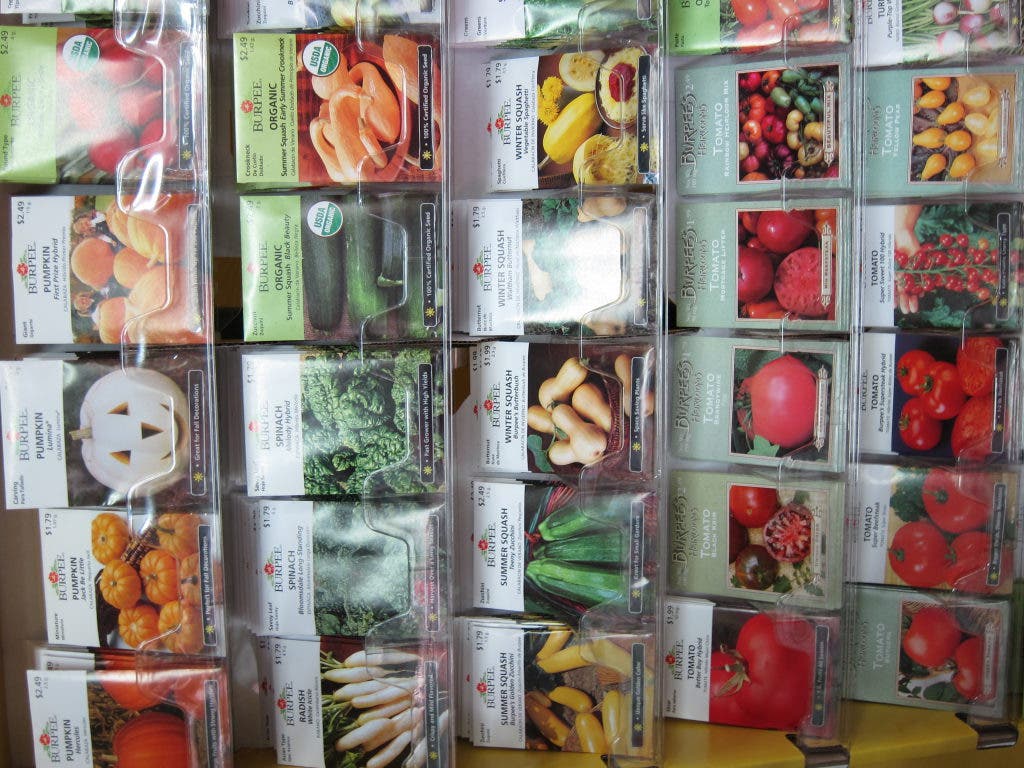
You might have saved seeds from last year’s harvest or purchased new ones from any number of specialized seed catalogues. Another good resource is a local garden center, which gets seeds from reputable dealers, such as Burpee or Rene’s Garden.
Find out what's happening in Clintonwith free, real-time updates from Patch.
Stay away from big-box stores as many of their seeds are “hybrids,” which means infertile seeds for next year’s harvest. Keep in mind that some seeds can be placed directly in the ground: squashes, cucumbers, radishes, carrots, zucchini and more. Other plants, especially tomatoes, need the head start indoors.
Fill your vessels with several inches of moistened sterilized seed-starting soil, which is lighter than potting soil. Ordinary dirt is too heavy.
I like to moisten my soil in a very large bowl, using warm water and a wooden spoon—or a pair of hands—to stir. The soil should be evenly moist, not puddling, before it is put into growpots.
Place two to three seeds in each container at a depth of about three times the diameter of the seed. You can also lay the seeds on top of the soil and cover with the appropriate amount or as stated on each seed’s packet.
Label your containers on popsicle sticks inserted into the soil and cover lightly with plastic wrap. Do not tie off: plants need oxygen as well as humidity. Check your seed packs as some seeds germinate in the dark, which means you have to cover them with pieces of black garbage bags or place in a darkened area. All germinating seeds need to be kept warm. Warming pads are costly, so the top of a refrigerator works well, as does a table near (but not too near!) a window that gets good sun.
Fun Experiments to Try With Elementary School Students
Collect yogurt cups, egg carton cups or even egg shells, clear plastic cups and paper towels. Fill about half of the containers (not the towels) with moistened seed-starting soil, and the other half with potting soil. You can try a little ordinary soil as well if it is available. Mark the containers with the type of soil and place the seeds at the proper depth.
Put the seeds that are in the plastic cups close to the edges so you can watch their progress. Place plastic over the top and note all of the differences in a journal.
Moisten the paper towels or even sheets of newspaper, placing several seeds in between moistened sheets. Also, try soaking seeds in water and see if they will grow. Keep all of the containers and towels moist.
Observe twice a day, keeping notes on your findings. It is also fun to sketch the changes in the seeds or take digital pictures. What types of seeds grew the fastest? Which ones were tallest? Which ones started out good and stopped growing? Compare their rate of growth to what the package predicted; did all of the seeds sprout?
What do we do once the seeds germinate?
Once the plants have sprouted, move to a sunny spot. Grow lights are very helpful, but fluorescent bulbs work just as well. There are many commercial plant stands with built-in lights, clip lights and such, but as a fellow gardener quipped: If colonists needed greenhouses and grow lights, none of us would be here!
The baby plants will soon poke their heads out of the soil, having two leaves called cotyledons, which make them look like arching dancers in various poses. A sunny window is all they need until the first four true leaves appear. These leaves need light for photosynthesis so a sunny window and or artificial supplement will be necessary.
Turn the plants regularly to prevent spindly growth. You should also wave your hands at them or blow gently (greenhouses use fans). This helps the stems grow stronger and therefore straighter, making for healthier plants.
Do not let seedlings dry out completely nor let them drown them in water. Moist but not soggy is best.
If all goes well, gently transplant your babies to flats, maintaining the same height of surface plant to soil. (Peat pots again are great as they can be put directly into larger pots with soil.) At this point, light fertilizing according to directions would be appropriate. Happy seeding!